


The phones
You can manage all your phones in all your branches from the UBIK Client Login.
Adding your phones to the UBIK system is easy. However, we recommend asking for help from UBIK or a network technician to configure them.
Adding a phone
- Go to the UBIK client login.
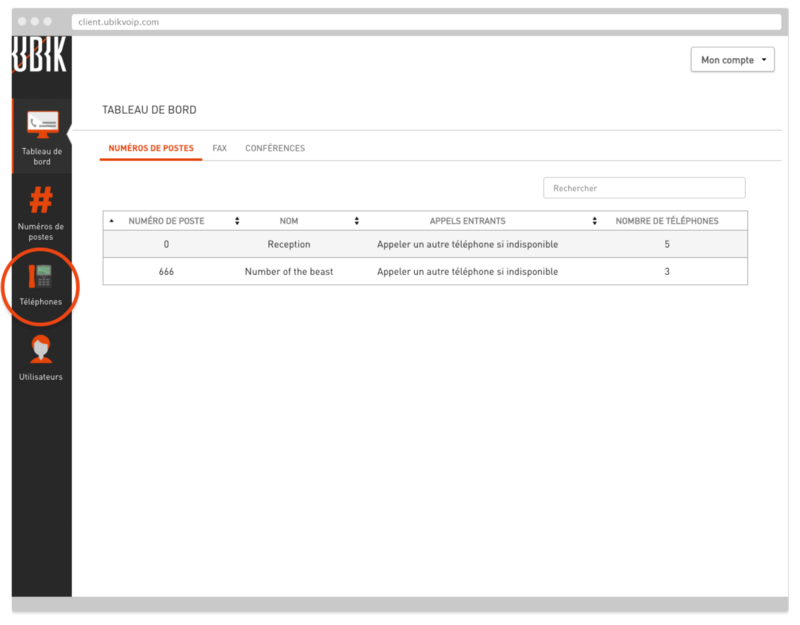
- Click on “Phones” in the sidebar:
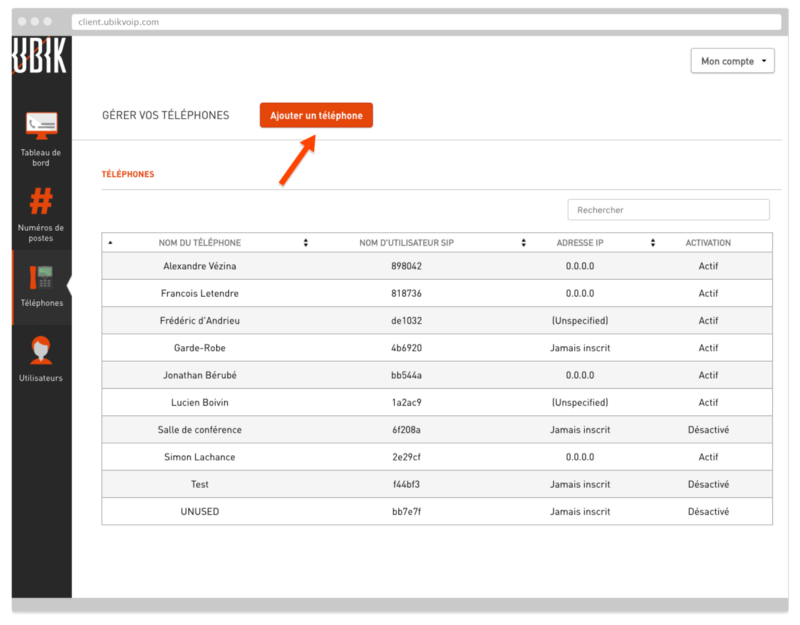
- Click on "add phone”:
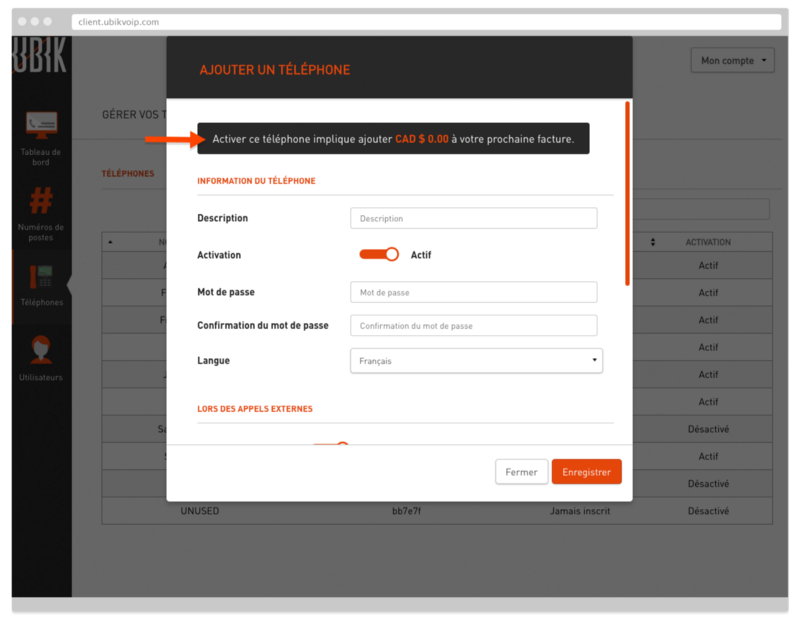
- Enter a description to help you clearly identify the new phone.
- Enter a password of six or more characters. Confirm your password.
- If there is a fee associated with adding a new phone, you’ll receive a notification to this effect
- Save to finish the process, and there you go: your phone has been added to the UBIK system.
Changing a phone’s caller ID
You have full control over your phones’ caller ID for internal and external calls.
- Click on “Phones” in the sidebar.
- Click on a phone in the list to change its caller ID.
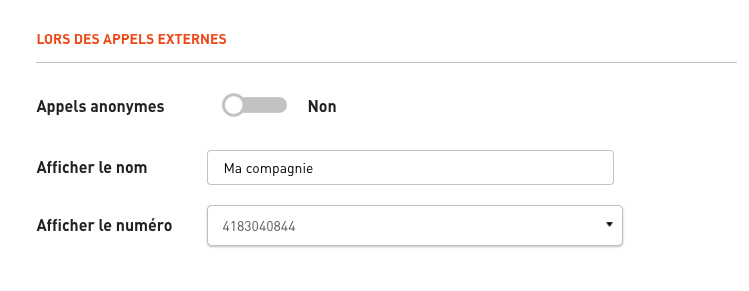
- Scroll down to the caller ID options at the bottom. Calls will default to being displayed as anonymous.
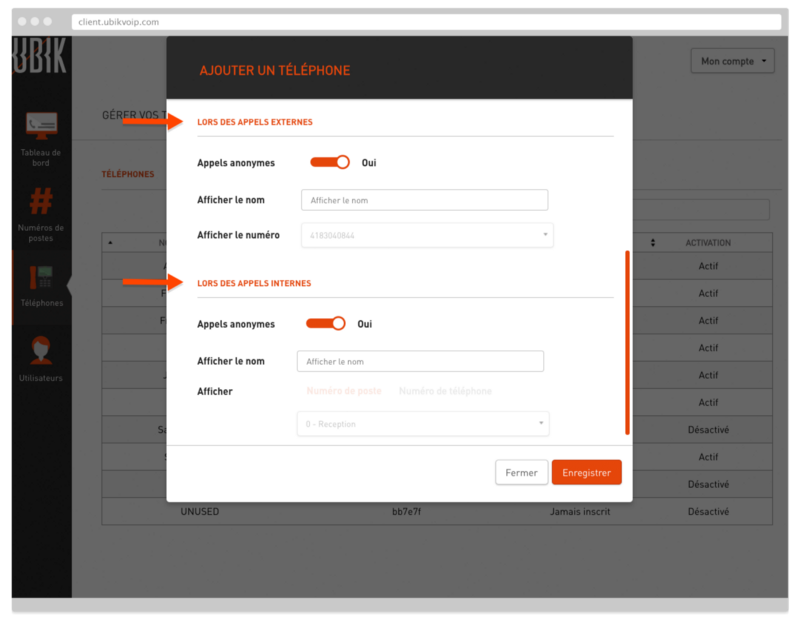
- External calls: Activate caller ID and enter the name you want others to see during external calls. If you have multiple phone numbers, select the one you want displayed.
- Internal calls: Activate caller ID and enter the name you want others to see during internal calls. You can choose between having the display show an extension number or a phone number.
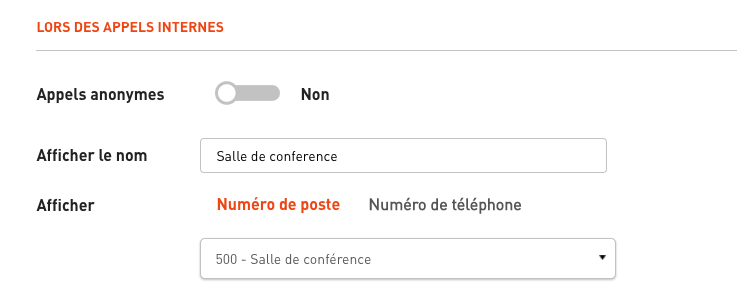
- Enter the name you want displayed during internal calls and select the extension or phone number you want others to see.
- Click “Save” to save your caller ID configuration.


